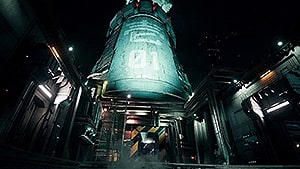
Chapter 1: The Destruction of Mako Reactor 1 |
|
|---|---|
 |
|
| Quest Type | Story Quest |
| Location | Mako Reactor 1 |
| Boss | Scorpion Sentinel |
| Reward/s | n/a |
| Prev. Quest: | N/A |
| Next Quest: | Chapter 2: Fateful Encounters |
Chapter 1: The Destruction of Mako Reactor 1 is a Story Quest in Final Fantasy 7 Remake. Quests are various tasks that players can be obtained throughout the game by some events or various NPCs. Story Quest are mandatory to complete Final Fantasy 7 Remake.
Chapter 1: The Destruction of Mako Reactor 1 Related NPCs
Chapter 1: The Destruction of Mako Reactor 1 Objectives
- Enter the Reactor Grounds
- Inflitrate the Reactor by following Barter
- Breach Security
- Reach Mako Storage by following Jessie
- Set the charge.
- Defeat Scorpion Sentinel
- Escape from the Reactor
- Sprint to Safety.
Chapter 1: The Destruction of Mako Reactor 1 Enemies
Chapter 1: The Destruction of Mako Reactor 1 Walkthrough
Enter the Reactor Grounds
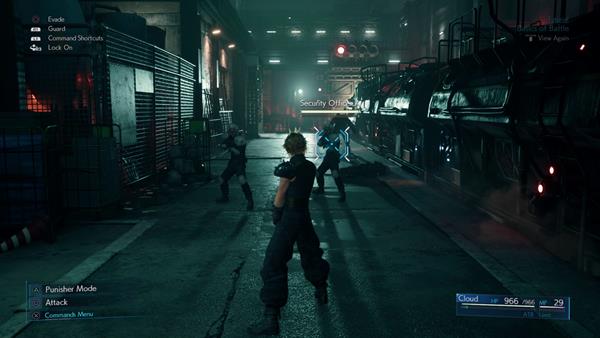
Players arrive at the train station of Mako Reactor 1, as soon as you take control of Cloud, you'll encounter the first two enemies of the game, which are two Security Officer. A tutorial will appear explaining the basics of the combat system, simply defeat the two enemies and head towards the station's entrance. Next, you'll encounter two more Security Officer and another tutorial will pop-up, explaining how the ATB gauge works. After killing the enemies, head to the inner section of the building and you'll face three more Security Officer and another tutorial explaining how to guard and block enemy attacks. Remember, that a successful guard decreases the damage inflicted by enemies and fills up the ATB gauge. After clearing the area, head to the second floor and open the chest to find 2x Potion, before you approach the group, make sure to destroy the Shinra boxes that are lying on the right side of the balcony - approach the group and a cutscene will trigger.
Infiltrate the Reactor
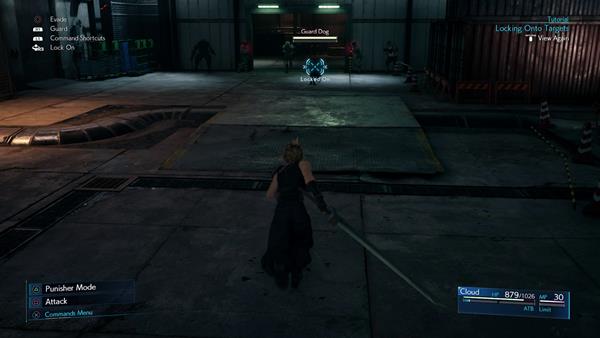
Next, follow the group and you'll encounter a new enemy which is a Guard Dog accompanied by a Security Officer. Try to kill the officer first before shifting your attention towards the biological hound, the Guard Dog is quite fast and one of its abilities can bound onto the character, which stops them from attacking or using commands, however, the Guard Dog can be easily staggered by punishing it with continuous basic attacks and by using Fire against it. Before you head inside the room, make sure to open the chest that's on the left side of the open area to find a bottle of Ether, another Guard Dog and Security Officer will appear after opening the chest - when that's done, head inside the room, destroy the Shinra boxes and ride the lift up and follow the group.
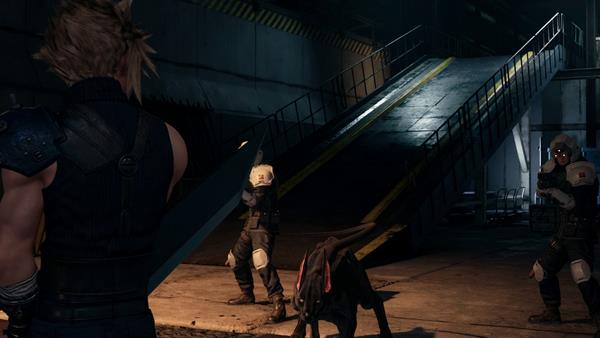
Approach the group and wait for Jessie to cut a hole on the locked gate. As Cloud enters, you'll encounter another Guard Dog and two Security Officer. Again, focus on the officers first before the dog. After you've killed the enemies, destroy the Shinra boxes that are in the same area before you head through the next section. Through the hole of the gate, before you proceed to the entrance of the gate passageway, you'll find another set of Shinra boxes on your left. Follow the marked objective and you'll encounter two Security Officer enemies, kill them and open the chest near the entrance of the passageway to find 2x Potion - simply follow the group and another cutscene will trigger.
Breach Security
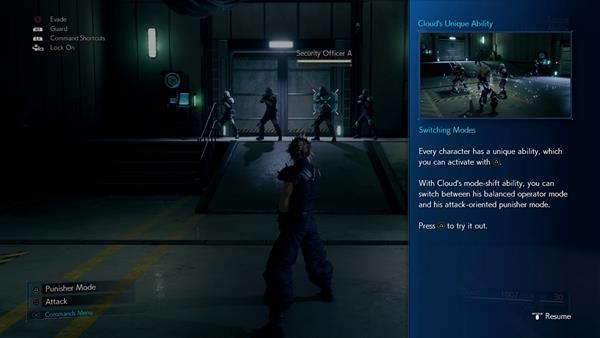
After the cutscene, speak to Biggs to trigger the door in front of you to open. As you head inside, you'll be ambushed by a group of Security Officer and the door behind you will close. Here, you'll be given a tutorial regarding Cloud's unique skill: Mode Shift. Cloud's mode shift ability allows him to switch between his balanced operator mode and his-attack oriented punisher mode. Press the [Triangle] button to switch modes. In operator mode, Cloud can execute fast attacks, guard against ranged attacks and magic. Operator mode is the default mode Cloud is in when he is in battle, while in punisher mode, Clouds moves more slowly, but [Square] unleashes a more powerful attack than usual. In addition, Cloud launches a counterblow every time he guards an enemy's melee attack. He cannot, however, guard against ranged attacks or magic. When you evade such attacks, you will switch back to Operator Mode. Simply kill the enemies to continue to the next objective, speak to Jessie to trigger another short cutscene and for the door to open. In the next room, you'll find a chest on the right side containing a tuft of Phoenix Down and some Shinra boxes you can destroy - approach the button of the lift and press it to proceed to the next objective.
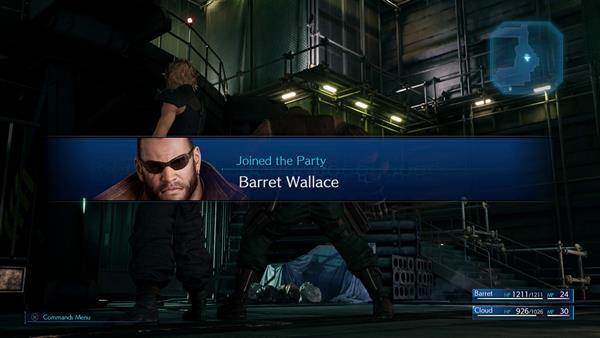
After the cutscene, before you regain control of Cloud, you'll encounter two new enemies which are Sentry Ray and a Monodrive. These enemies are hard for Cloud to reach, luckily, Barret is with you and he'll join the party, allowing you to switch and take control of him or issue commands. Barret specializes in ranged attacks. Holding down the [Square] button releases a sustained burst of automatic fire when equipping ranged weapons. Barret can fire from safe locations and hit enemies that Cloud or any of his allies cannot reach. When equipped with a melee weapon, his normal attack and unique abilities will transform into close-combat attacks. His unique skill is Overcharge, press [Triangle] while in control of Barret to deliver a heavy-hitting attack that fills a large portion of his ATB Gauge. Once unleashed, it takes a long time to recharge his attack. Pressing [Triangle], however, will speed up the process. Also, you'll have access to Barret's magic, and you can use Thunder to hit the Sentry Ray's weakness.
Reach Mako Storage

Once you've cleared the enemies, follow Jessie towards the mako storage. Head down the stairs and you'll find a room that is filled with security lasers, you'll be given a tutorial on how to dash. At the right time, just press the [L3] button down to quickly run through the lasers while it disappears for a brief moment. There are some Shinra boxes on the area before you head down to the next floor. The lasers here move differently, as it will blink for a specific number of times before it disappears, giving you the chance to dash through. When you reach the other side, destroy the Shinra boxes on the left and open the chest near the stairs to find 2x Potion. As you head down the stairs, before facing the Sweeper, make a hard right and check the corner next to the stairs to find another chest containing 1x Ether.

When you're ready, approach the Sweeper to start the battle. You'll be given another tutorial on how to stagger enemies, some attacks and magic will help increase the gauge of the enemy's stagger bar. Once it's full, you'll be able to knock it off-balance, allowing you to deal more damage as you punish it before it fully recovers. Using Barret's unique skill Overcharge, as well as his ability, Focused Shot can help fill the stagger gauge of the Sweeper. After killing the enemy, follow Jessie and proceed to the next section
Set the Charge
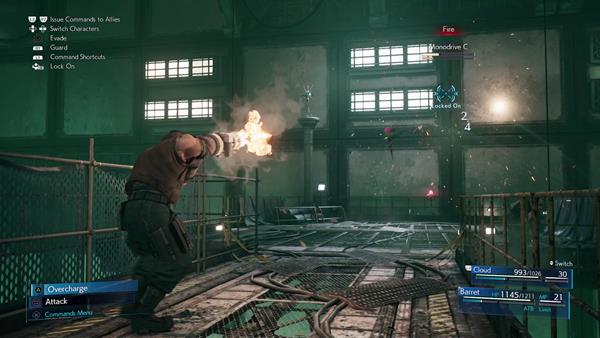
You'll find yourself at the reactor of the facility. The goal is to head to the bottom surface and set the explosives. Climb down the ladder, open the chest containing 1x Phoenix Down and simply follow the marked objective where you'll encounter another Sentry Ray and Monodrive enemies. Before you climb down the second ladder, make sure to open another chest and destroy the Shinra boxes near it that's being guarded by 4x Monodrive enemies. The chest contains 1x Ether. Simply head to the bottom section and set the bomb to whichever time you are comfortable with, either 20 or 30 minutes.
Defeat Scorpion Sentinel
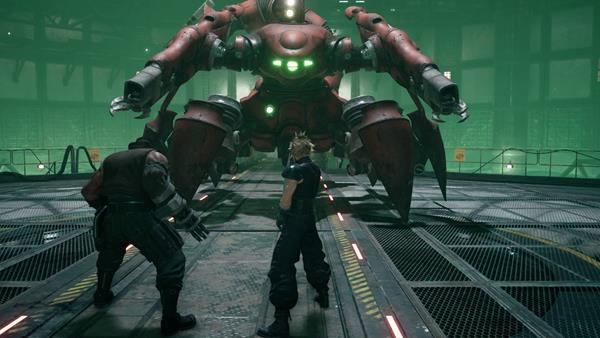
Once you've set the timer, an enemy will appear which is a boss battle against the Scorpion Sentinel. This boss is weak to electricity, so you'll want to issue a command or control Barret to use Thunder since he has the spell. This boss has four phases, for the first phase, keep punishing it with Cloud's basic attacks and abilities and remember to switch between Barret or if he has enough ATB charges, issue a command to use Thunder against it. In the first phase, it will have attacks such as Electrostomp, Target Scanner, Deathgrip, Scorpion Strikes, and Mark 99 Launchers. If it uses Electrostomp, dash away to avoid getting hit and knocked back from the impact of its legs, if it uses target scanner, prepare to put up your guard to lessen the damage from its guns and Mark 99 Launchers which are are small rockets that shoot at you. Barret is also useful here since you can exploit his ability, Steelskin which temporarily buffs his defenses and lessens any attacks he takes. If it uses Deathgrip, you'll want to quickly dash away from it and dodge at the right time to avoid getting caught. If this happens while your controlled character is bound, quickly switch to the other and attack the boss to free your ally. For the Scorpion Strikes, you'll want to move away from it since it will start to plunge its tail around it.
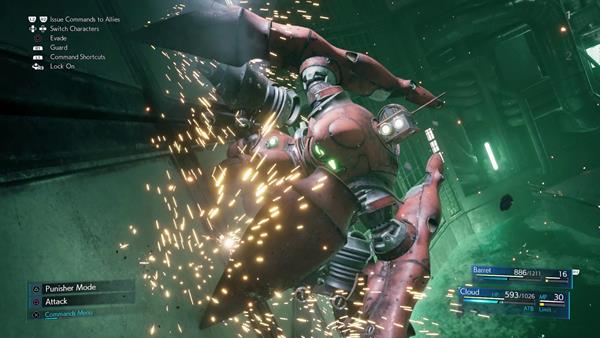
In the second phase, it will jump away from you and start to put up a Barrier that greatly reduces physical and magical attacks. Quickly rush towards the sentinel, and as Cloud, go to its rear and switch your target towards its field generator. Keep attacking it until the barrier disappears, just be careful and watch out for a new attack which is an EM Field, an electromagnetic field that damages and pushes you away from it. If this happens, quickly run away from the field that will appear on the ground, you'll have time to dodge away from it before it releases. Once the barrier is broken, it will jump away from you and onto the walls, quickly switch to Barret to continuously attack it from afar, after a short while, it will jump back down on the ground with another Barrier on it, you simply just need to repeat the process until you trigger its third phase - remember, if you're fast enough, once its barrier is down, cast Thunder against it.
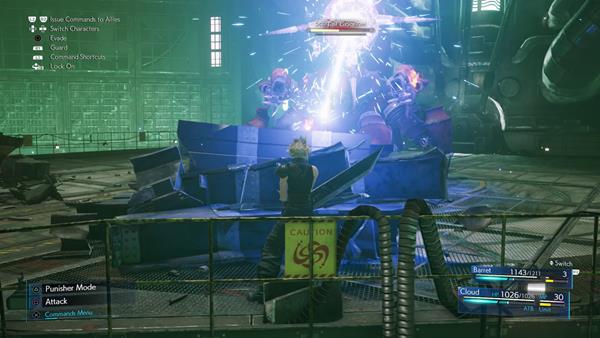
For phase three, it will gain another attack which is Tail Laser. It will be easy to avoid this, just quickly dash towards the debris, stand behind it, and wait until it finishes shooting its laser. It only uses this attack occasionally, depending on how fast you deplete its health until you reach the fourth phase. Just watch out for attacks such as the EM Field, and Stinger Salvo where it shoots out a barrage of lasers from its tail. Have Barret take all of the damage from the laser while you have Steelskin up or guard to lessen the damage.

For its last phase, it will go berserk and continuously shoot out a barrage of rockets which is Overkill while it uses Auto-Repair. You'll want to use Cloud and attack its front legs and have Barret use Thunder to stop it from repairing itself. Before the battle ends, depending on which character you use most in the battle and takes more damage, you'll be able to activate their limit break which finishes the boss. The Scorpion Sentinel rewards you with 100 EXP and 100 Gil for defeating it - shortly after the battle, the timer of the bomb will trigger and you'll now have to escape the facility.
Escape from the Reactor

The goal is simple, escape the reactor before the timer reaches zero and rendezvous with Barret and the others. Along the way, you'll encounter more enemies such as Monodrive, Sentry Ray, Sweeper, Security Officer, and a new enemy, the Shock Trooper. Escaping the facility will complete this chapter.
Notes & Tips
- Notes, Tips, and other info goes here
- ??
